
My Fedora Server is a Spotify Connect Device
This article explores how to turn Fedora machines into Spotify Connect devices.
What is Spotify Connect?
Spotify Connect is a protocol and means by which one device can remotely control playback on another device over your home network or wifi.
If you have a device that supports Spotify Connect then no longer are you limited to listening to Spotify on your phone or computer – you can instead use your phone or computer to control music playback on your Spotify Connect compatible smart speaker, TV sound bar, car stereo, etc.
You can see what Spotify Connect devices are available on your network by hitting the  button in an official Spotify client. It will show a list of devices on which you can play music remotely:
My problem is that I don’t have a smart speaker or other Spotify Connect compatible device here in my office capable of driving my big floor standing speakers. What I do have however, is an old stereo amplifier with spare inputs in the same rack as my server equipment:
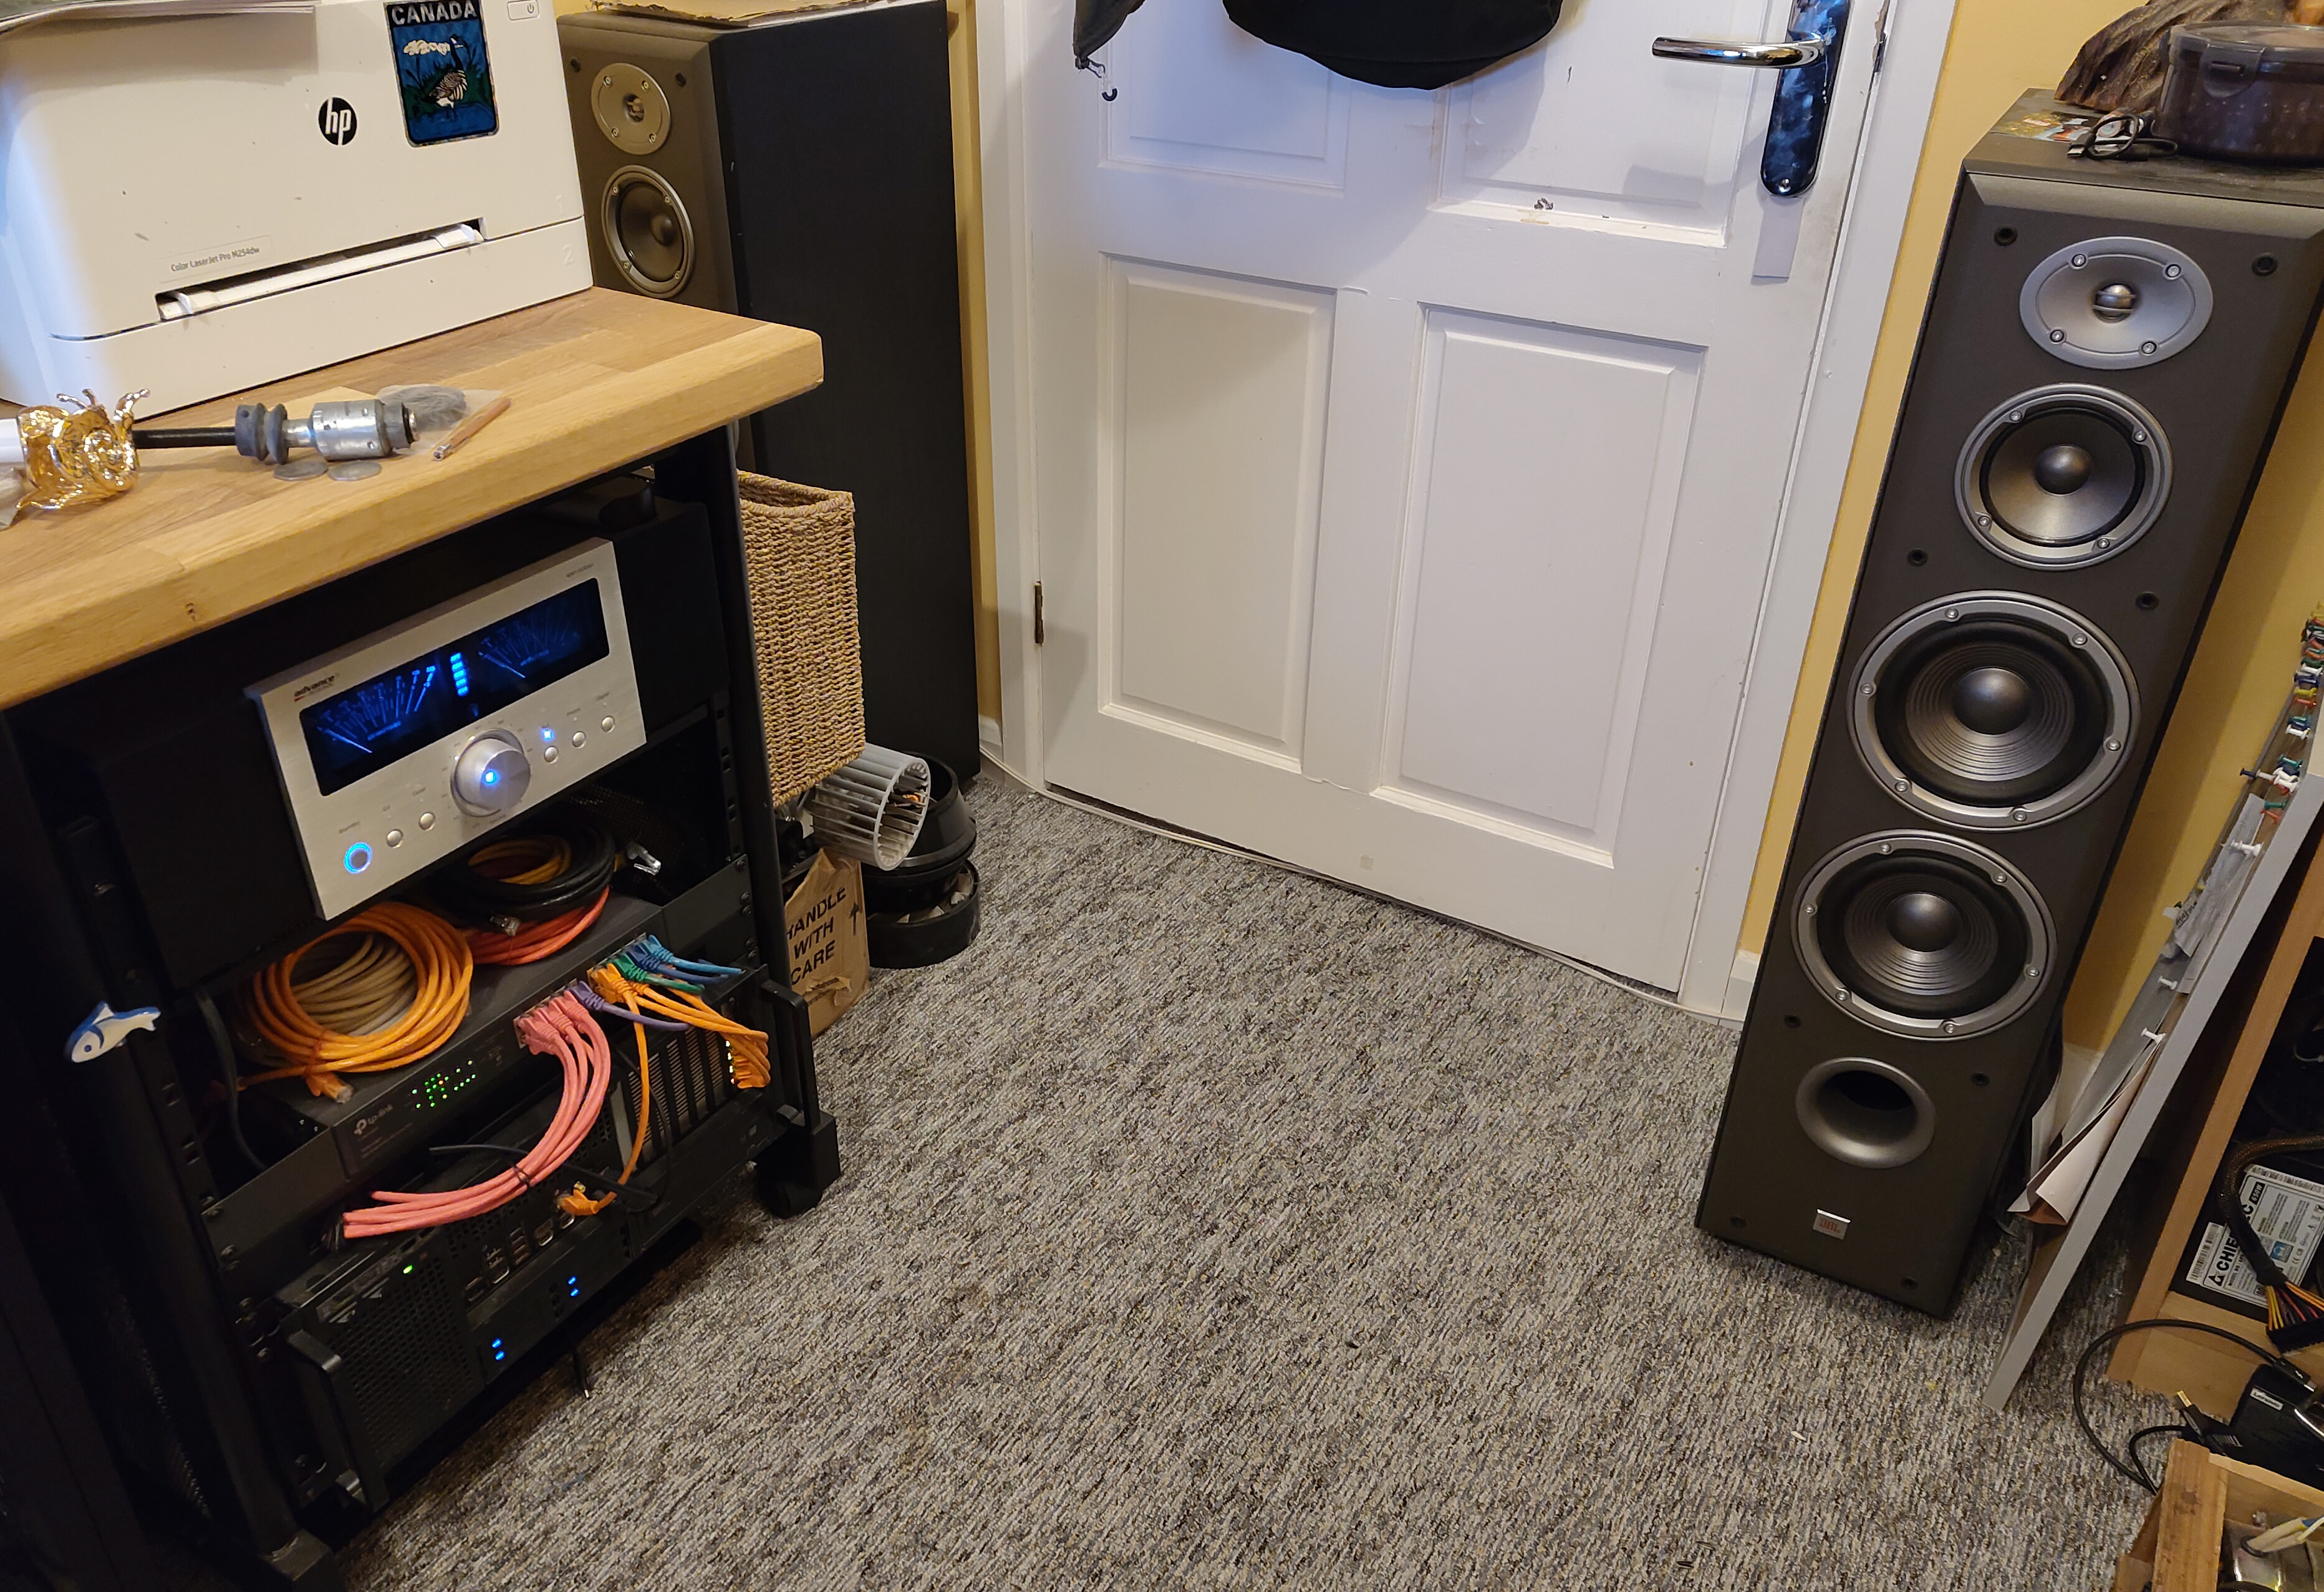
The server machine in the bottom of that rack happens to have an integrated USB audio adapter so why not connect that to the AUX-in on the amplifier and teach the server how to stream music from Spotify?
Installing Spotifyd
Spotifyd is an open source Spotify client that you can run as a daemon and also supports the Spotify Connect protocol, which makes it show up as a device that can be controlled from the official Spotify client.
An RPM packaged version of Spotifyd can be found in my COPR repo at mbooth/spotifyd. It’s straightforward to enable the COPR repo and install it:
# dnf copr enable mbooth/spotifyd
# dnf install spotifyd
Spotifyd uses the Avahi mDNS for service discovery, which allows the official Spotify clients to find it on your network. So we need to make sure the mDNS port is open, as well as the port used by the Spotify Connect protocol. On a default installation of Fedora Server, it may be necessary to open both ports using the firewall-cmd command like this:
# firewall-cmd --permanent --add-service=mdns
# firewall-cmd --permanent --add-service=spotify-connect
# systemctl reload firewalld
Finally, enable and start the Spotifyd service in the normal systemd way:
# systemctl enable spotifyd.service
# systemctl start spotifyd.service
The server will now show up in official Spotify clients as a device named “spotifyd.” Choosing it from the list will begin playback on that device:
If you want to run Spotifyd on a Fedora Workstation install, or any setup where you have user sessions with the audio being managed by Wireplumber/Pipewire, then you will need to start it as a user service instead:
$ systemctl --user enable spotifyd.service
$ systemctl --user start spotifyd.service
Configuration
The configuration file for Spotifyd can be found at /etc/spotifyd.conf where the first thing you probably want to do is customise the name that shows in the device list:
device_name = "Mat's Office"
All the configuration options are explained further in the upstream documentation.
Reporting Issues
For issues directly relating to the RPM packaging of Spotifyd or installation from my COPR repo, please file bugs at github.com/mbooth101/spotifyd-rpm/issues.