Simple Hammer Repair
You may recall from my previous post about broken tools that I broke my favourite hammer by using the claw to break down what turned out to be some really sturdy cupboardry. In this post I document the manufacture of a new handle from scratch.
Starting from Scrap
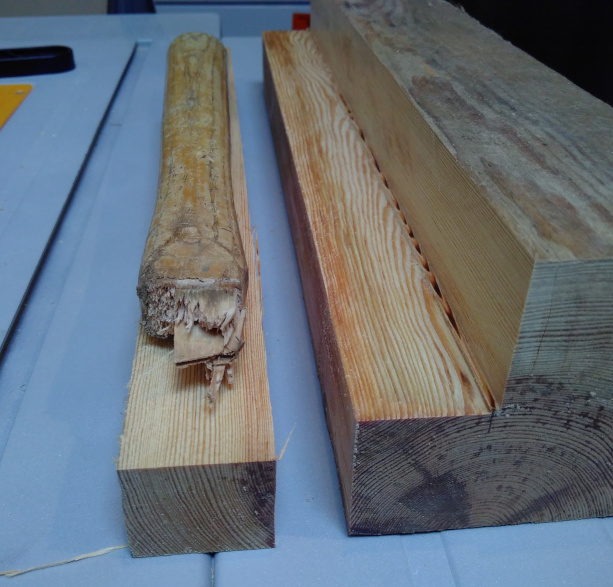
I’ve had this piece of hardwood offcut in my scrap drawer for a while and thought it would be ideal for this project. Unfortunately I’m not a woodologist so I can’t tell you what species this is but the grain is much finer and straighter than the original handle. Let’s assume that’s a good thing for this application.
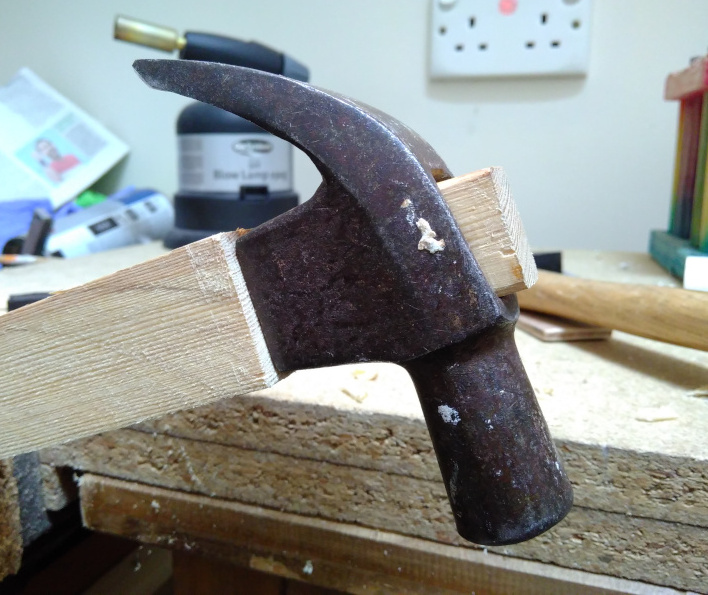
I cut out a handle blank that is a bit larger in all dimensions than the original handle using the table saw, then with a hand saw I cut a tenon in one end so that it was a snug fit into the hammer head.
Taking Shape
Sharp corners are no good for a handle, so the next job was to take a hand file and start adding some contours. I used the file to bring the shoulders of the tenon in to where the wood meets the metal.
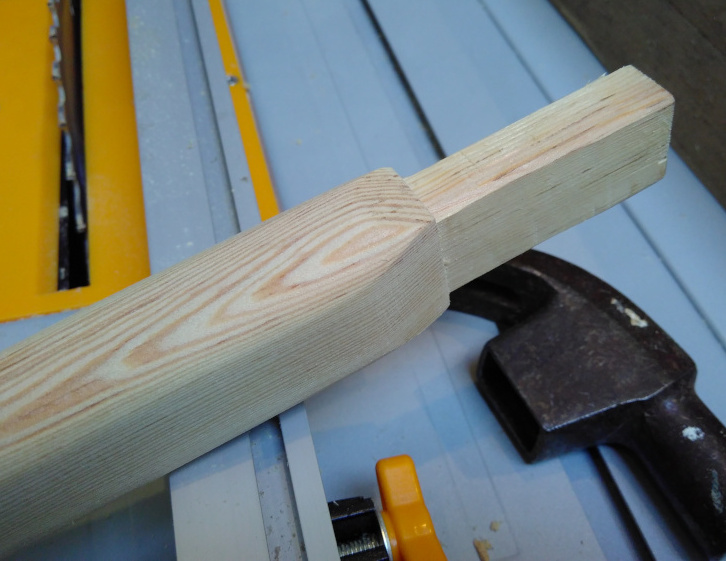
That nice straight grain meant that as soon as I added some curves, pretty patterns immediately appeared. Below is a shot of the whole thing after sanding some ergonomics into the rest of the handle.
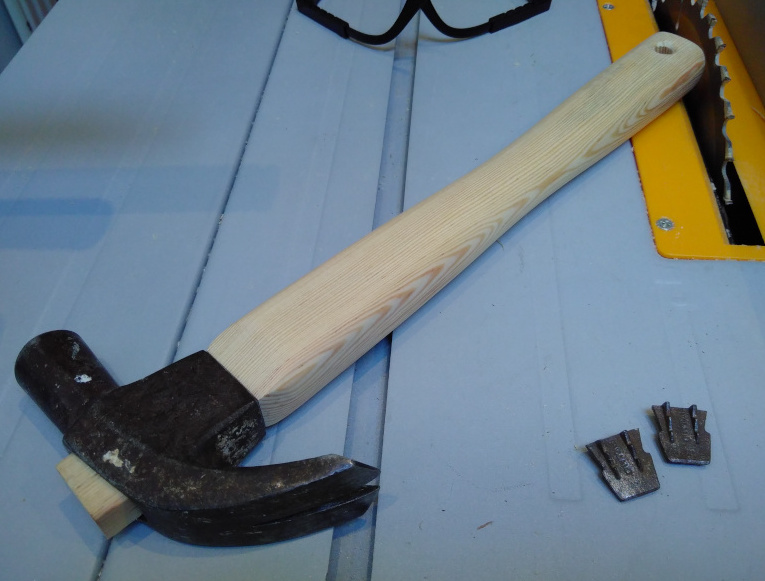
The two metal wedges you can see in the bottom right of the above picture are the wedges that were retaining the old handle in the head of the hammer. In the end I decided not to re-use these and instead made a wooden wedge from the same stock as the new handle.
Finishing
After giving it some sanding with slightly higher grit I gave it a couple coats of a hard-wearing poly-urethane varnish. This is a tool I expect to use often, so I want it to be able to resist some punishment.
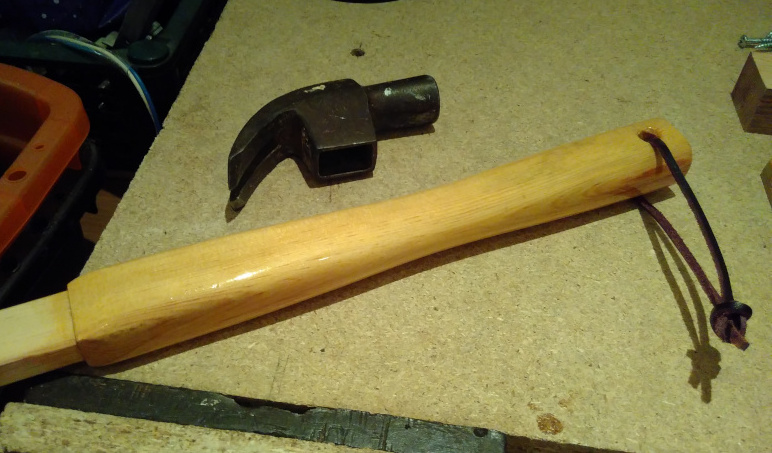
You can see I also drilled a hole in the end of the handle and tied on a loop of scrap leather. I’ve no idea yet if I will find this feature useful. Maybe it’ll be handy to be able to hang it somewhere when I’m up a ladder. Maybe I’ll just swing it around like Thor…
The final step is to permanently affix the head onto the handle.
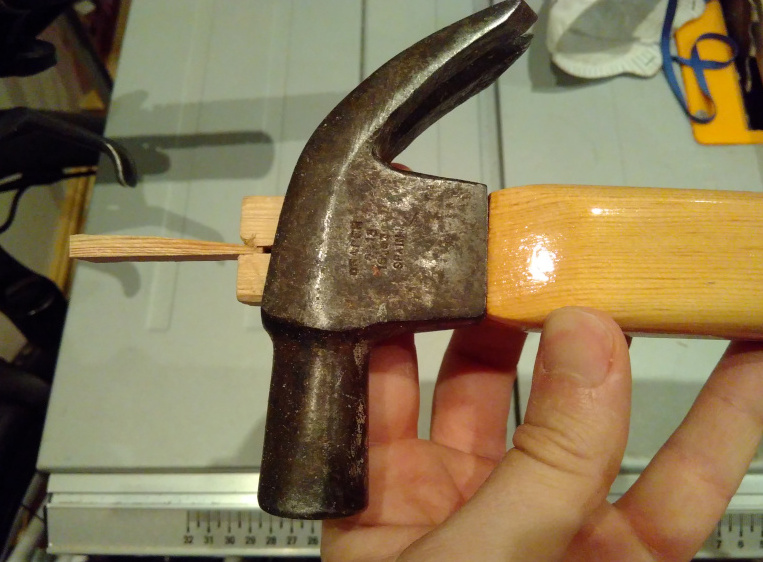
I made a one-saw-kerf-width slot in the tenon and fashioned a crude wedge on the belt sander from a slice of the same stock as I used for the handle. Once I was ready to commit, I applied some PVA and hammered the wedge home. After letting the glue dry I was able to trim off the excess with a hand saw and sand it flush.
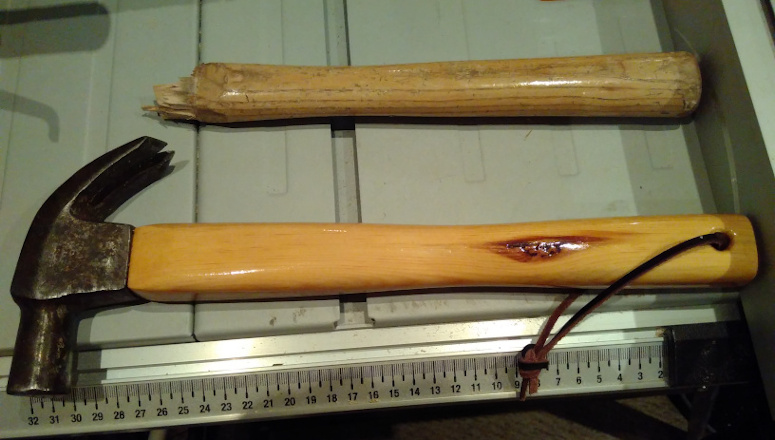
Here is the finished article side-by-side with the old handle. I’m pretty happy with it. Table saw scale for, er, scale.
Bonus Nine Month Update!
Since I managed to procrastinate writing this post for more than half a year, and I’ve used this hammer most weekends since January (it is September now) for various projects, including ripping out my bathroom (I will likely talk about that in a future post) I can tell you how well my repair went!
It has put up with a fair amount of abuse and there are plenty of dings and dents in the finish to show for it, but there is no actual damage to the handle, which is good. I’m pleased with the shape and the extra length in the handle too as compared to the original; it’s quite comfortable to use.
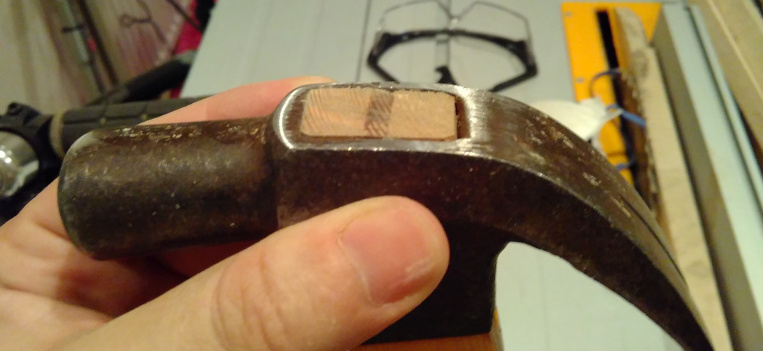
One thing that did happen however is that after a few weeks of really beating on a cold chisel to remove some tiling and plaster work, the head was starting to work its way loose. Not because the wedge was becoming unstuck though, it seems like the wood fibres in the tenon had just compressed a bit after some amount of bedding in. I disassembled the hammer by drilling out the original wedge and reinforced it by cutting two more saw-kerfs into the tenon and making three new wooden wedges. Here it is after the glue has set and the wedges sawn flush.
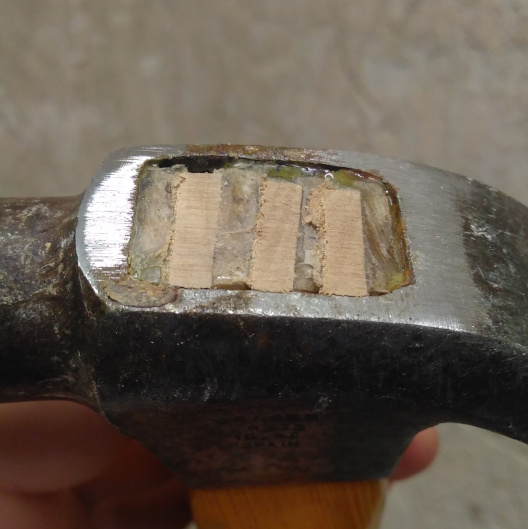
It has been completely solid ever since. Sure, it’s a bit uglier now because the end of the tenon sits a little bit below the top of the hammer head preventing sanding, but who cares; it’s a tool for using not for looking at. And that loop of leather at the end of the handle? Ultimately pointless, I do just swing it about like Thor after all…
